How to Livestream Your Tournament on Facebook From Your Laptop
With Kihapp's livestreaming feature, you can broadcast your tournament live on Facebook, with graphics just like on TV. This doesn't require any expensive software or hardware at all. These step by step instructions will help you get started with your first livestream.
It's a good idea to assign the job of livestreaming to a specific volunteer. They don't need to do much; just set things up in the morning, re-set after lunch, and monitor that the stream stays good. Kihapp will automatically roll graphics on the screen according to what is happening on the ring.
Due to a limitation of Facebook Live, you can only stream for four hours in one go, after which you must restart the stream. It's a good idea to plan ahead so that you don't need to cut the stream in the middle of a bout.
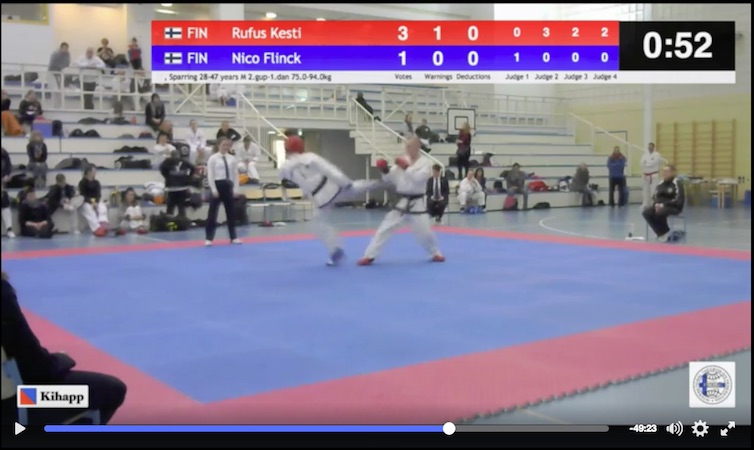
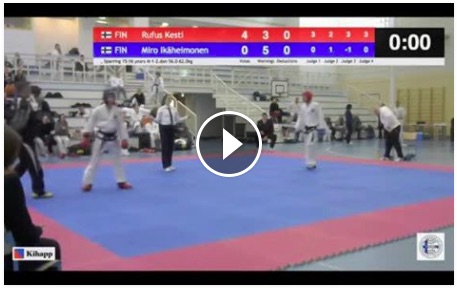
Watch an example stream
Requirements
- A Facebook Page for your club, association or tournament (you can create one for free)
- Laptop with a camera (any kind of camera that can be used as a webcam will work)
- Internet connection (wifi or mobile hotspot - a hotspot is generally preferable)
- OBS Studio sofware (free download and use; works in Windows, Mac and Linux)
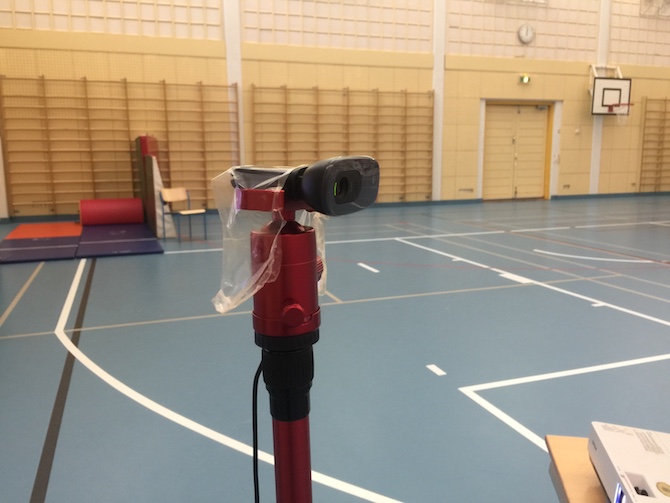
- Tripod or something else for stabilization
Facebook can receive video in a resolution of up to 720p (1280x720), so that's the ideal resolution of your camera.
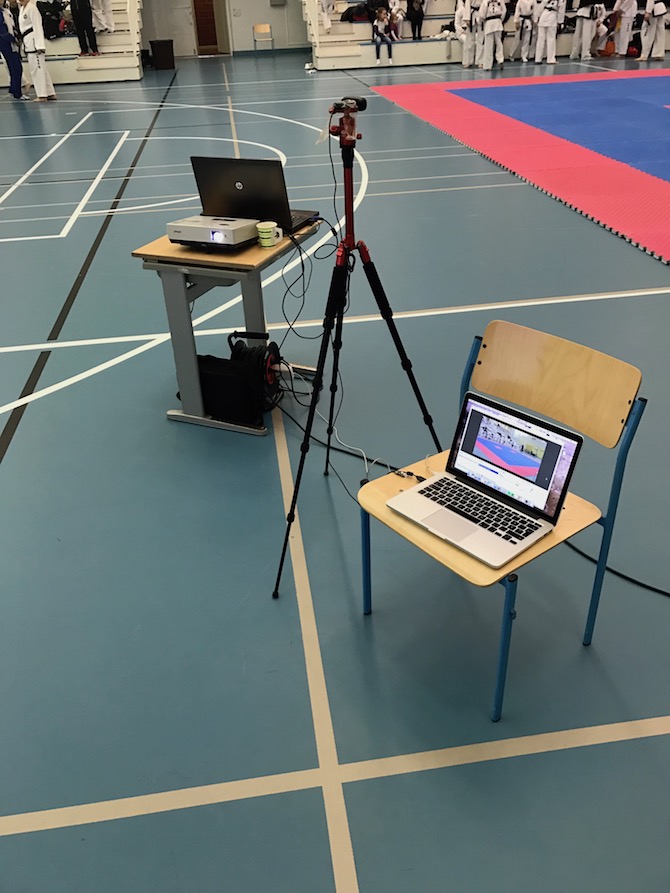
Streaming can consume quite a lot of resources on the laptop, so usually it's a good idea to do the streaming from a dedicated machine.
Setting up a livestream
- Open the Facebook page of your club, association or tournament. You must be logged in as an administrator of that page. It should look something like this:

- From the top, navigate to Publishing Tools, then, from the left, to Video Library.
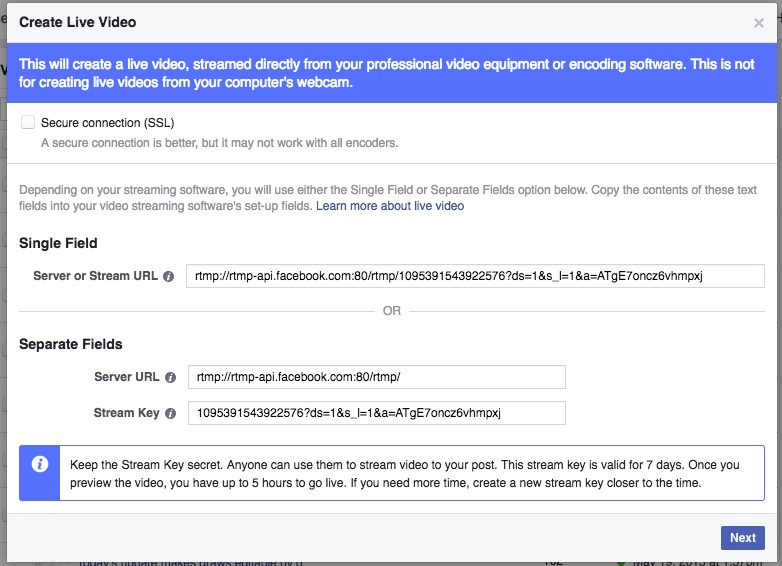
- From the top, click on Live. You will see this screen:
- On your laptop, navigate to your tournament on Kihapp. You should be logged in as an administrator (or an official) of that tournament.
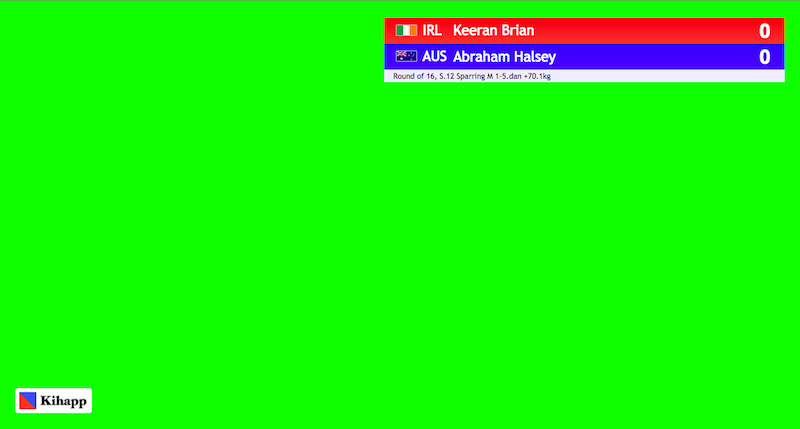
- Navigate to Live. Next to the ring you want to livestream, click on Green Screen. Later on, you will copy and paste the address of this page. It should look like this:
- Open your OBS Studio software. If you didn't download it yet, you can do so from their website. It should look something like this:
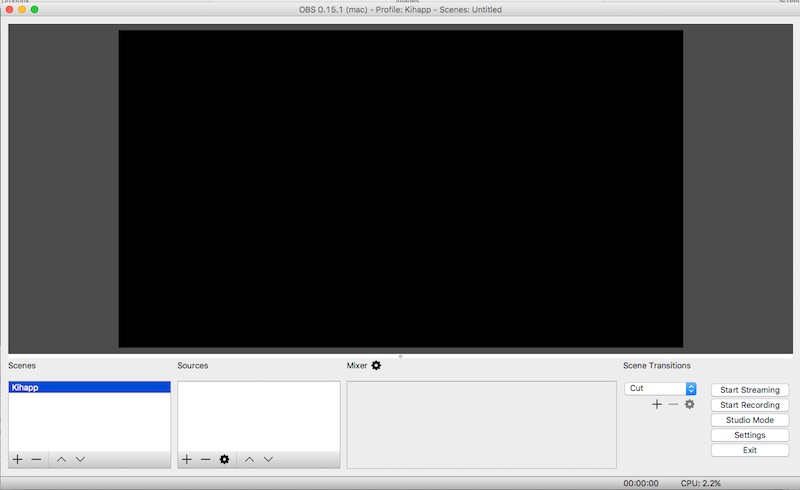
-
In OBS, open Settings. Change the following settings:
- Under Stream, set Stream Type to Streaming Services and Service to Facebook Live.
- Copy the Stream key from Facebook (visible in Step 3) to the Stream key field.
- Under Video, set Base (Canvas) Resolution and Output (Scaled) Resolution both to 1280x720.
- In OBS, under Sources, click on the + icon and select Video Capture Device. In the dialog that opens, click OK.
- In the following dialog, at Device, select the camera you want to use. (If you don't see a camera selectable, make sure your camera works in some other application, such as Skype.)
- In Preset, select the option that is closest to 1280x720, and click OK.
- Under Sources, click the + icon and select BrowserSource. In the dialog that opens, select Create New and OK.
-
In the dialog that opens, fill the fields as follows:
- URL: paste the address of the Green Screen page form step 5. It should look something like
https://www.kihapp.com/rings/123456/screen?mode=green_screen&token=abcdefg123456 - Width: 1280
- Height: 720
- FPS: 30
- CSS: (leave empty)
- URL: paste the address of the Green Screen page form step 5. It should look something like
- Under Sources, Ctrl-click the newly created BrowserSource, and select Filters. A dialog opens.
- In the dialog's bottom left corner, click on the + icon and select Chroma Key. Click OK in the dialog that opens.
-
Input the following settings:
- Key Color Type: Green
- Similarity: 400
- Smoothness: 1
- Key Color Spill Reduction: 310
- Opacity: 90
- Contrast: 0,00
- In OBS, click on Start Streaming.
- In Facebook, click on Next.
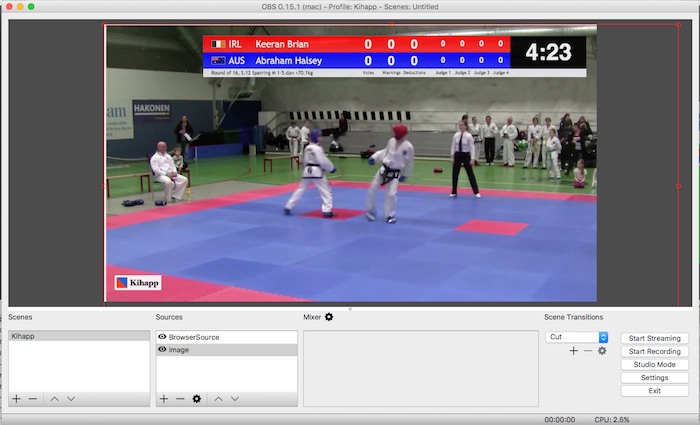
- Your stream should appear in the preview window.
- Give your video a title and tags.
- Click on Go Live.
- In your phone, put on an alert for 3 hours and 45 minutes. The maximum length for a Facebook Live video is 4 hours, after which you can follow these steps to create a new video.
Data transfer requirements
Streaming video to Facebook will usually consume at least one or two Mbps (megabits per second) of data. This means that streaming for a full day can consume in the order 2 GB (gigabytes) of data. Where possible, it's a good idea to use a mobile data plan without a data cap. Prepaid SIM cards that are suitable for this kind of transfer are available in many countries.